 Bellingham Exterior
 Window Installation in Blaine: A Job the Water and Weather Make Harder
Blaine sits right on the water at the northern edge of Whatcom County, close enough to the Salish Sea and the Canadian border that homes here take on marine conditions most inland towns never deal with. Salt-laden air moves through the area as a daily condition, driving rain regularly comes in sideways instead of straight down, and a moss season that can stretch across most of the year keeps exterior surfaces damp longer than they'd stay in a drier climate. Windows sit at the center of all of it, because a window opening has more seams, more moving parts, and more places for water to get behind the wall than almost any other part of a house.
This page is specifically about window installation — new construction, full replacement of existing units, and the openings that come with additions or remodels — rather than small repairs to an otherwise sound window. Installation is where the long-term performance of a window actually gets decided. A well-made window put in with a rushed flashing job will leak in this climate. A modest window installed correctly, with the flashing properly tied into the surrounding wall, will usually hold up longer and cause fewer problems.
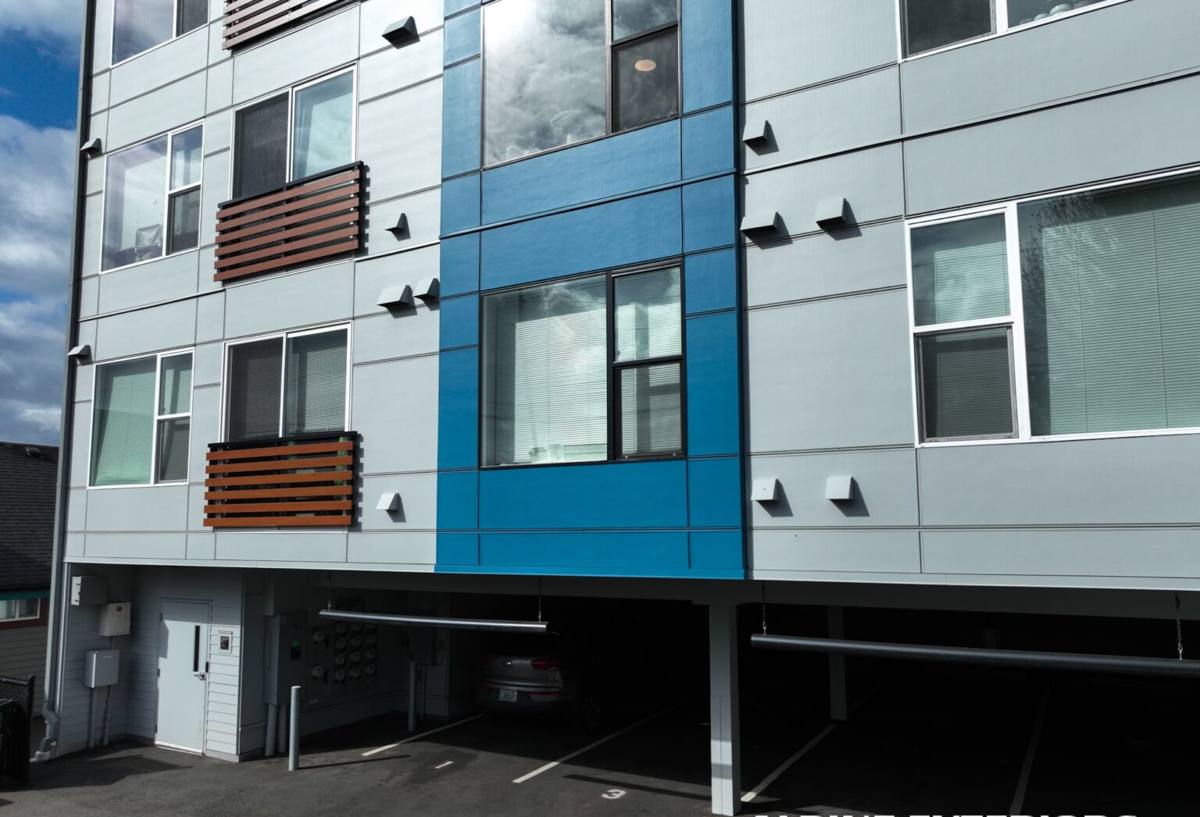
What Blaine's Climate Demands From a Window Installation
Salt Air and Corrosion
Being this close to open water means Blaine homes are exposed to salt-laden air more consistently than most of the county, and that exposure accelerates corrosion on hardware, fasteners, and lower-grade frame components. Standard-grade hardware that would perform fine in a dry inland setting can start pitting, sticking, or failing years earlier out here. That's a factor in both the window unit itself and the fasteners and flashing hardware used to install it.
Wind-Driven Rain and the Flashing Sequence
Storms coming off open water push rain sideways into wall assemblies rather than letting it run down and off. That means water gets tested against seams and joints that would rarely see it in a calmer setting. The flashing sequence around a window — how it laps with the weather-resistive barrier and siding, and how well every seam sheds water outward — matters more here than the specific window brand installed behind it.
A Long Moss and Mildew Season
Mild, wet conditions for much of the year mean any window sill, trim board, or frame edge that stays damp becomes a growth surface eventually. Installation detail plays a direct role in this — sills that are sloped to shed water, trim that isn't installed tight against a damp surface, and openings that allow proper drying between wet spells all reduce how fast moss and mildew take hold, especially on shaded or north-facing walls.
Condensation From Temperature Swings
Cold, damp exteriors paired with heated interiors create real condensation pressure on window glass and frames through a Blaine winter. This shows up as fogging, water pooling on interior sills, or moisture trapped between panes on older or poorly sealed units. It's usually a sign of a failed seal or an installation that didn't account for the temperature differential, not just a cosmetic nuisance.
What a Correct Window Installation Actually Involves
Rough Opening Prep and Sizing
Before a new window goes in, the rough opening gets checked for square, level, and correct sizing — including proper clearance for shimming and insulation once the unit is set. On older Blaine homes, this step often reveals settling, out-of-square framing, or old flashing that needs correcting before a new window can be installed cleanly.
Sill Pan and Drainage Path
A sill pan under the window creates a sloped, waterproof surface that directs any water that does get past the window back outside instead of letting it sit against the framing. Skipping this step is one of the more common shortcuts on a rushed installation, and it's largely invisible until water damage shows up on an interior wall or sill years later.
Flashing Integration With the Wall Assembly
The window has to be flashed so it ties cleanly into the weather-resistive barrier and siding around it — flashing laps over the layer below it at every point, never under, so water is always directed outward and down. This is the step that determines whether wind-driven rain off the water stays outside the wall or finds its way in.
Setting, Shimming, and Insulating
The window unit gets shimmed square and plumb in the opening, fastened per the manufacturer's spec, and the gap between the frame and the rough opening gets insulated and air-sealed correctly — not overpacked with insulation, which can bow the frame, and not left with gaps, which cost energy performance and let condensation form inside the wall cavity.
Trim and Finish
Exterior trim gets installed and sealed to match the surrounding siding, with attention to keeping horizontal trim surfaces sloped rather than flat, so they shed water instead of holding it.
Installation Mistakes That Fail Fastest This Close to the Water
| Shortcut | What it looks like on install day | How it shows up later on a Blaine home |
|---|---|---|
| No sill pan under the window | Looks finished and sealed | Hidden rot in the sill and framing, often not visible until interior damage appears |
| Flashing lapped backward or skipped at the head | Appears sealed from outside | Water intrusion above the window, especially during wind-driven storms |
| Caulk used in place of proper flashing | Clean, finished appearance | Cracked sealant within a few seasons and a direct path for water behind the wall |
| Standard-grade fasteners near open water | No visible difference | Corrosion, staining, and loosened trim well before it would happen further inland |
| Gaps left unsealed around the frame | Window operates fine | Drafts, higher energy bills, and condensation forming inside the wall cavity |
New Construction vs. Replacing Existing Windows
Installing windows in new construction and installing replacements in an existing Blaine home are related jobs with real differences. New construction means setting windows into fresh framing with a new weather-resistive barrier already planned around each opening — there's no guesswork about what's behind the wall, but the sequencing with siding and flashing still has to be right the first time. Replacing existing windows means removing the old unit, taking an honest look at what's been happening at that opening for years, and often correcting problems left by the original installation — a missing sill pan, backward-lapped flashing, or framing that's taken on water — before the new window goes in. Both require the same attention to flashing sequence; replacement work just adds a discovery step that new construction doesn't have.
Choosing Windows for Blaine's Conditions
We install vinyl and fiberglass window systems suited to a wet, marine climate, and we'll walk through the honest trade-offs for a specific project rather than defaulting to one brand for every job. What matters most for a Blaine installation is a well-engineered frame, a glazing package suited to both energy performance and condensation resistance, and hardware rated to hold up under sustained salt air exposure.
- Frame material: Vinyl and fiberglass both resist rot in a way uncladded wood frames don't, which matters given how much moisture and salt air this stretch of coastline carries.
- Glazing package: Double or triple-pane options with low-E coatings help with energy performance in both directions and reduce interior condensation during cold, damp stretches.
- Hardware grade: Corrosion-resistant hardware holds up longer against marine air than standard-grade hardware, and the difference shows up faster on a waterfront or near-waterfront property.
- Window style: Styles that compress fully against a gasket when locked tend to resist wind-driven rain better than styles that rely on a friction fit, which is worth weighing for openings that take direct wind off the water.
- Warranty structure: A manufacturer's product warranty is only as good as the installation behind it — we stand behind our installation work separately from the window manufacturer's warranty on the unit itself.
Our Installation Process, Step by Step
- On-site assessment — we look at each opening, check the condition of the existing framing and flashing where applicable, and note exposure to wind and water for that specific wall.
- Honest recommendation and written scope — what we recommend for each opening, and why, before any commitment is made.
- Ordering and lead time — windows are built to order in most cases, so we give a realistic timeline upfront rather than promising a date that's likely to slip.
- Removal and opening prep — the old unit comes out carefully, and any hidden framing, sill, or flashing issues get addressed before the new window goes in.
- Sill pan, flashing, and setting the window — installed to manufacturer spec as the baseline, not an upgrade.
- Insulation, trim, and finish — the gap around the frame is sealed correctly and exterior trim is matched to the surrounding siding.
- Final walkthrough — we confirm the work matches what was scoped and go over basic maintenance for windows this close to the water.
Timeline and Cost Factors for a Blaine Window Installation
| Factor | Why it matters |
|---|---|
| Number of windows and openings | More openings mean more labor, more flashing work, and a longer overall timeline |
| Standard vs. custom sizing | Custom or non-standard openings are built to order and generally take longer to arrive than stock sizes |
| Condition of the existing opening | Rot, prior water damage, or out-of-square framing found during removal adds repair scope before installation can proceed |
| Exposure to wind and open water | Water-facing openings typically warrant closer flashing attention and corrosion-resistant hardware |
| Frame material and glazing package | Vinyl, fiberglass, pane count, and coatings all affect price and long-term performance differently |
| Access and story height | Upper-floor windows may require staging or lift access, which affects both labor time and scheduling |
Weather also plays a bigger role in scheduling here than it would further inland — wind off the water can make certain days unsafe for handling large panels or working from staging, even when the forecast looks manageable a few miles away. We build some flexibility into project timelines rather than committing to a fixed date a bad weather stretch is likely to break.
A Checklist for a Correct Window Installation
Whether you're evaluating our work or getting a second opinion from another contractor, these are reasonable things to confirm before a window installation is considered complete:
- A sill pan installed under every window, not caulk used as a substitute for one
- Flashing that laps correctly with the weather-resistive barrier and siding at the head, sides, and sill
- Hardware and fasteners rated for coastal or marine exposure, not standard-grade material
- The gap around the frame properly insulated and air-sealed, without overpacking
- Exterior trim sloped to shed water rather than left flat where it meets the siding
- A written scope that separates the manufacturer's product warranty from the installation warranty
- A final walkthrough where the work is explained, not just handed off with an invoice
Why a Crew That Already Installs Windows in Blaine Matters
Manufacturer installation instructions are written for average conditions in a moderate climate, and Blaine doesn't offer average conditions. A crew that installs windows regularly on homes exposed to this much salt air and wind-driven rain makes different calls than one that only works this area occasionally — how much lap a flashing detail needs on a water-facing wall, which hardware grade actually holds up, and which steps in the manufacturer's guidance are worth extra time even when nothing requires it. That judgment comes from doing this work repeatedly in this specific place, not from a generalized installation checklist applied the same way everywhere.
If you're planning new windows for a Blaine home, replacing units that are drafting or fogging, or just want a straightforward look at whether an existing installation was done correctly, we're glad to take a look. Use the form below for a free, no-pressure estimate.