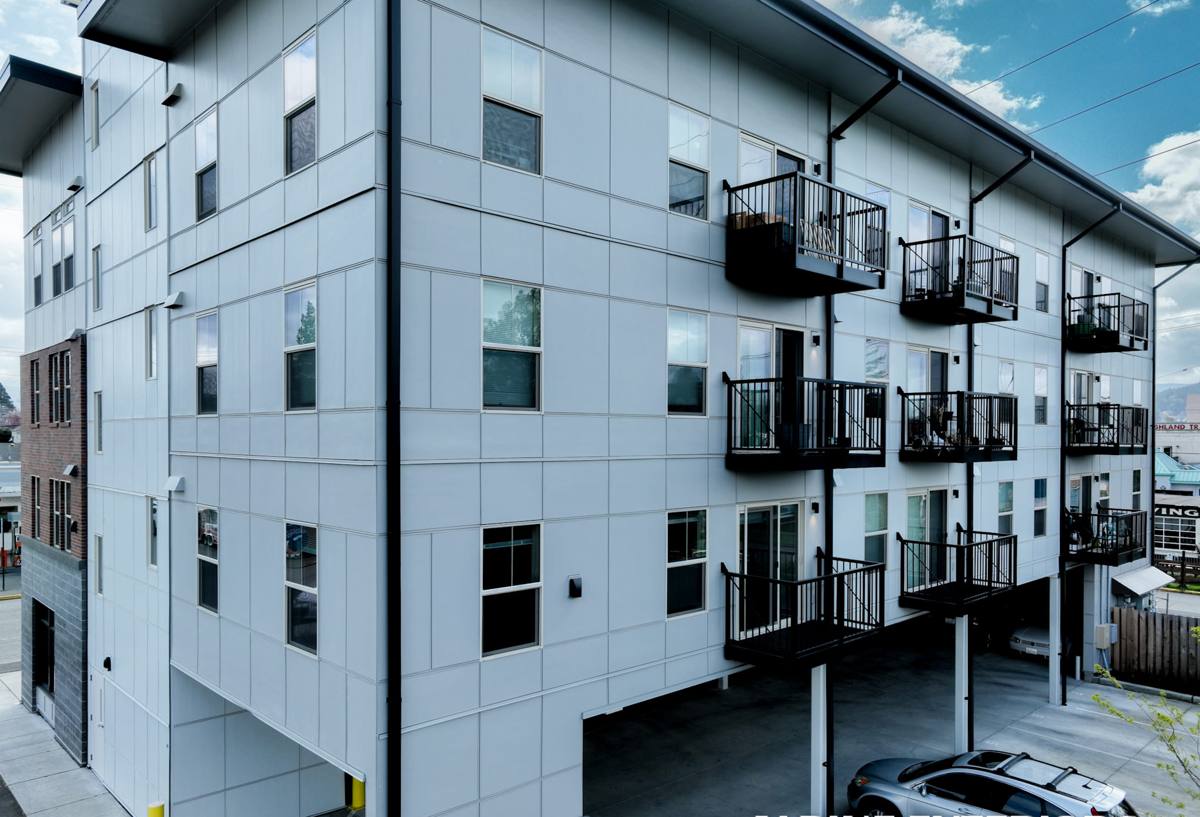
 Bellingham Exterior
 Building New in Happy Valley: What the Climate Asks of a Window
Happy Valley is one of Bellingham's older, established neighborhoods, with a mix of mature tree cover, sloped lots, and a steady pace of infill construction, additions, and ground-up rebuilds. Whether you're framing a new house, adding a room, or gutting an existing one down to the studs, the windows you install now are doing a very different job than they would in a dry inland climate. Whatcom County sits right on the water, and that means salt-laden air moving off the bay, long stretches of driving, wind-pushed rain rather than gentle vertical rain, and a moss and mildew season that can run most of the year in shaded, tree-covered lots like a lot of what you find around Happy Valley.
None of that is exotic information to a contractor who works here regularly, but it matters enormously when a window is going into new construction. A window that's rated fine for a showroom in a dry climate can still fail here in five to ten years if the flashing detail behind it wasn't built for wind-driven water. The window unit itself is only half the equation — the other half is how it's integrated into the wall assembly before the siding ever goes on.
New-Construction Windows vs. Replacement Windows: Why the Distinction Matters
People often use "new windows" to mean any window project, but new-construction and replacement windows are built and installed differently, and mixing them up on a job leads to real problems down the line.
A true new-construction window has a nailing flange (also called a nail fin) around its perimeter. That flange gets fastened directly to the sheathing before the weather-resistant barrier (house wrap) and siding go on, which lets us build a proper layered flashing system around the opening. A replacement or "pocket" window, by contrast, is designed to slide into an existing frame with the old exterior trim left in place — it's a retrofit product, built for speed and minimal disruption to finished walls.
On a new build, an addition, or a gut-to-the-studs remodel in Happy Valley, you want the new-construction version every time. It's the only approach that lets us control the drainage plane — the continuous path water takes down and out of the wall if it ever gets past the siding — from the ground up. Using a pocket-style window in new framing, or skipping the flange integration steps because the opening "looks fine," is one of the more common corners we see cut on new builds, and it's the kind of shortcut that doesn't show up as a problem until years later when water has already found its way into the framing.
What a Correct New-Construction Window Install Actually Involves
The window unit itself is easy to get right — the sequence around it is where jobs succeed or fail. Here's what we build into every opening, in order.
Sill Pan Flashing First
Before the window ever sits in the rough opening, the sill gets a sloped, pan-style flashing with end dams — essentially a small waterproof tray that catches any water that finds its way past the window and directs it back outside instead of into the wall cavity. This is the single most important detail on the whole install, and it's the one most likely to be skipped or done half-heartedly on a rushed job. In a climate with as much wind-driven rain as we get here, a sill without a proper pan is a matter of when, not if, it leaks.
Head and Side Flashing, Integrated with the House Wrap
Once the window is set, plumbed, and fastened through its nailing flange, flashing tape goes over the side flanges and then the head, each layer lapping over the one below it — the same shingle-lap principle as roofing, so gravity always moves water outward and down, never into a seam. The house wrap is cut and integrated into this sequence in the correct order, not just taped over the top afterward. Done correctly, the window becomes part of one continuous drainage plane running from the roofline to the foundation.
Fastening and Sealant — Supporting Roles, Not the Fix
Sealant has a place at specific joints, but it's a secondary defense, not the primary one. A window that depends on a bead of caulk to stay dry is a window that's one UV-cracked seam away from a leak. We fasten per the manufacturer's schedule (this affects both structural performance and warranty validity) and use sealant only where it belongs in the assembly — not as a substitute for proper flashing.
Choosing the Right Window for a Marine Climate
Frame material matters here more than it does in a lot of the country, mainly because of salt air and near-constant moisture exposure. There's no single "correct" answer for every project — budget, exposure, and the look of the house all factor in — but the trade-offs are worth understanding before you commit.
| Frame Material | Coastal/Moisture Performance | Maintenance | Typical Cost Position |
|---|---|---|---|
| Vinyl | Won't corrode or rot; hardware quality varies by manufacturer | Low — occasional cleaning | Most affordable |
| Fiberglass | Very stable in wet/salty air, minimal expansion or contraction | Low | Mid to upper |
| Wood-clad | Good if cladding and flashing are done right; exposed wood interior/exterior needs care | Higher — finish and joints need periodic attention | Highest |
| Aluminum (uncladded) | Prone to condensation and corrosion near salt air unless thermally broken | Moderate to high | Varies |
Beyond frame material, look at the glass package and hardware. Low-E coated, argon-filled dual pane glass is the baseline for new construction in this climate, and hardware — hinges, locks, and cranks on any operable window — should be corrosion-resistant, since salt air will find and degrade cheap zinc or plated hardware faster than people expect. If you're comparing bids, ask what the hardware and weatherstripping specs actually are, not just the brand name on the window.
Our Process for a Happy Valley New-Construction Project
Window installation on new construction has to happen at a specific point in the build sequence, and it needs to be coordinated with whoever is running the rest of the project.
- Rough opening review: we check that openings are square, plumb, and sized correctly before windows ever arrive on site — catching a framing error here is far cheaper than after the window is set.
- Sill pan and flashing install: built per opening, timed with the house wrap sequence so there's no gap in the drainage plane.
- Window setting and fastening: leveled, shimmed, and fastened to the manufacturer's schedule.
- Flashing tape-in and WRB integration: head and side flashing lapped correctly, house wrap cut and folded back over the flanges.
- Interior air sealing: a separate step from exterior weatherproofing — this controls drafts and condensation risk, not water intrusion.
- Walkthrough before siding closes it up: this is the last point anyone can visually confirm the flashing is right, so we don't skip it even when a schedule is tight.
We're used to working alongside general contractors and builders on active job sites, which matters on a new build where a lot of trades are moving through the same space in a short window of time. Showing up on schedule and leaving a clean opening for the siding crew isn't a small thing when a build has a tight timeline.
Common Mistakes We Catch on New Builds
Some of these come from other trades' work before we're on site, some from window installs done by crews that don't specialize in it. Either way, these are the issues worth having someone check for before siding goes on and covers everything up.
- No sill pan flashing, or a flat sill with no slope or end dams
- House wrap taped over the nailing flange instead of properly lapped under and over it in sequence
- Windows fastened through the flange with staples instead of the manufacturer-specified screws or nails
- Sealant used to "fix" a flashing gap instead of correcting the flashing itself
- Rough openings out of square, forcing the window frame to flex once fastened
- Missing or incorrectly placed weep holes, which trap water inside the frame instead of letting it drain
- Head flashing that doesn't extend far enough past the side flanges to actually shed water around the corners
Why a Crew That Already Works Happy Valley Matters
A lot of window failures aren't really window failures — they're installation details that didn't account for how water actually moves on a specific site. Sloped, tree-shaded lots like you find through Happy Valley hold moisture longer than open, sunny sites, which means moss and organic growth build up faster on siding, trim, and window sills if drainage details aren't built in from day one. A crew that's done multiple projects in the neighborhood already knows to plan for that instead of discovering it after the fact.
There's also a practical side to working locally: we're not driving in from out of the area to hit a rough opening deadline, which means fewer scheduling gaps between the framing crew finishing and windows going in — a gap that, left open too long in Bellingham's rain, can mean water sitting in an unprotected opening before it's ever weatherproofed.
If you're planning new-construction windows for a project in Happy Valley — whether it's a full new build, an addition, or a remodel down to the studs — we're glad to walk the site, look at your plans or rough openings, and put together a straightforward, no-pressure estimate. Use the form below to get started.