 Bellingham Exterior
 Building New in Lynden: What Your Windows Need to Handle
If you're framing a new home or outbuilding in Lynden, your windows are going in on a blank slate — no old opening to work around, no compromises left over from a previous installer's shortcuts. That's an advantage, but only if the install is done right the first time. Whatcom County's climate is hard on window openings: long stretches of driving rain off the Pacific, heavy moisture that lingers in shaded and low-lying areas, and a moss season that can run most of the year on north-facing walls and trim. Windows here don't fail because the glass is bad. They fail because water found a way behind the frame and nobody caught it until the trim started staining or the sheetrock inside went soft.
A new-construction window opening gives us full access to the rough opening, the weather-resistive barrier (WRB), and the flashing plane before siding ever goes up. That's the best possible position to get water management right — but it also means every shortcut taken during framing gets sealed behind siding for the next 20-plus years. We treat new-construction installs as a one-shot job: no second chances once the wall is closed up.
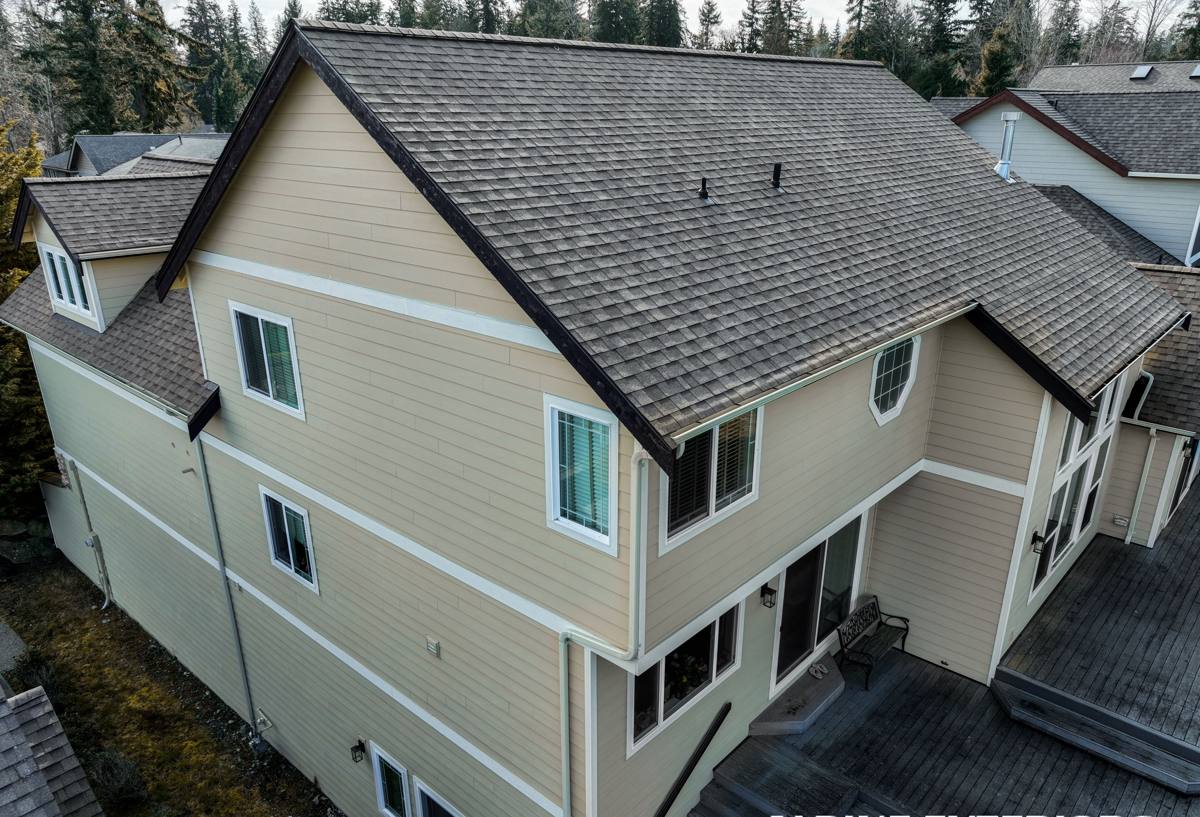
New-Construction vs. Replacement: Why the Installation Method Matters
A lot of homeowners assume "window installation" is basically the same job whether it's a remodel or a new build. It isn't. Replacement windows usually go into an existing, already-flashed opening with a pocket or full-frame retrofit unit. New-construction windows are a different product entirely — they have a nailing flange around the perimeter that gets integrated directly into the house wrap and flashing system before siding is installed.
That flange is either your best friend or your biggest liability, depending on how it's flashed. Done correctly, it creates a shingled, gravity-fed drainage path where water always sheds outward and downward, never behind the WRB. Done poorly — flange taped flat without a sill pan, or house wrap lapped in the wrong order — it creates a shelf that collects water and feeds it straight into the wall assembly. On a replacement job you can sometimes catch and fix that years later. On a new build, it's hidden the day siding goes on.
Why This Matters More in Whatcom County
Our wet season isn't a few weeks of storms — it's months of sustained, low-intensity rain that finds every gap over time. A flashing detail that would survive a drier climate without issue can fail here within a few winters if it's not built to shed water on purpose, not by accident.
What a Correct New-Construction Window Install Involves
There's a specific order of operations that has to happen for a new-construction window to perform the way it's designed to. Skipping steps or doing them out of sequence is the single most common cause of water intrusion we get called out to diagnose in newer homes.
Sill Pan Flashing
Before the window ever sets into the opening, the rough sill gets a sloped or flat pan flashing — self-adhered membrane or a formed pan product — that catches any water that gets past the window and directs it back outside, not down into the wall framing. This is the single most skipped step we see on production framing crews trying to move fast. It takes an extra 20 minutes per opening and it's the difference between a leak that drains harmlessly and one that rots a sill plate.
Head Flashing and WRB Integration
Once the window is set, shimmed level, and fastened through the nailing flange, the WRB gets lapped over the flange in the correct shingle order — side flanges taped first, then the head flashing lapped over the top so water sheets down and over every seam below it, never up and under. A head flashing or drip cap above the unit adds a second line of defense against wind-driven rain, which matters here more than in drier parts of the state.
- Sill pan installed and sloped to drain outward before the window is set
- Window shimmed square, level, and plumb — not just fastened tight to the rough opening
- Side flanges taped in shingle-lap order over the sill pan
- Head flashing lapped over the WRB above the window, not tucked under it
- Fasteners set per the manufacturer's schedule to preserve the warranty
- Rough opening gaps insulated with low-expansion foam, not packed solid
Choosing the Right Window for a Whatcom County New Build
New construction gives you a real choice of frame material, since you're not constrained by an existing opening size. The right call depends on the wall's exposure, your maintenance appetite, and budget — there's no single "best" material, only the right trade-off for the specific wall.
| Frame Material | Moisture Performance | Maintenance | Typical Fit For |
|---|---|---|---|
| Vinyl | Good — won't rot, but seals and welds need to be quality-checked | Low | Most walls; best value for new builds |
| Fiberglass | Excellent — dimensionally stable in wet/dry cycling | Low | Exposed walls, larger openings, long-term owners |
| Wood-clad | Good on the exterior clad face, but interior wood is moisture-sensitive if flashing fails | Higher | Homeowners wanting a wood interior look who accept upkeep |
| Aluminum | Poor thermal performance, prone to condensation in our humidity | Low | Rarely recommended for residential walls here |
We steer most Lynden new-construction clients toward vinyl or fiberglass on exposed elevations, not because other materials can't be made to work, but because they tolerate our sustained moisture and freeze-thaw swings with the least dependence on perfect long-term maintenance. A wood-clad window installed and flashed correctly will perform fine — it just asks more of you as the owner over the decades ahead.
Meeting Washington's Energy Code on a New Build
New construction in Washington has to meet the state energy code's window performance requirements, which are stricter than what a lot of older replacement stock was built to. That mainly comes down to U-factor (how well the window resists heat loss) and, depending on your wall assembly and compliance path, solar heat gain coefficient. Your builder or energy consultant will usually specify the target numbers as part of the permit package — our job is making sure the units ordered actually match what's on the plans and that the NFRC label on each window backs it up before it goes in the wall.
It's worth checking this yourself, too: a window that "looks the same" but has a slightly higher U-factor can pass framing inspection and still leave you with a colder house and a higher heating bill for as long as you own it.
How Our Process Works With Your Builder
On a new build, window installation is a scheduling problem as much as a technical one. Windows typically get ordered as soon as the plans are locked, since lead times run several weeks, and they go in right after the WRB is on and before siding starts. We coordinate directly with your general contractor or framing crew so there's no gap where the opening sits exposed to weather, and no rush where flashing gets skipped to keep the schedule moving.
- Review window schedule and rough opening sizes against the approved plans
- Confirm order specs (U-factor, sizing, swing/operation type) before placing the order
- Inspect WRB coverage and rough openings once framing is ready
- Install sill pans, set and shim each window, integrate flashing in proper sequence
- Walk the openings with the builder before siding closes them up
That last step matters more than people expect. Once siding goes on, nobody — including us — can verify flashing without tearing something open. We'd rather catch an issue in an open-wall walkthrough than years later as a stain on someone's interior wall.
Why a Crew That Already Works Lynden Job Sites Matters
Whatcom County covers a lot of different microclimates — waterfront exposure, low farmland with heavy fog and humidity, and inland valley sites with their own wind and moisture patterns. A crew that regularly works Lynden and the surrounding Nooksack Valley area knows which elevations on a given lot type take the worst weather, which inspectors are checking flashing details closely, and which local suppliers actually stock the window specs your plans call for without a long delay. That local familiarity shows up as fewer surprises mid-build — not a marketing point, just fewer change orders and callbacks.
Common Mistakes We See on New Builds
Most window problems in newer Whatcom County homes trace back to a handful of repeatable mistakes, almost always made in the name of speed:
- Skipping the sill pan flashing because "the flange tape will handle it"
- Taping the WRB over the flange in the wrong lap order, trapping water instead of shedding it
- Over-driving fasteners, which bows the frame and breaks the seal on operable sashes
- Packing the shim gap solid with foam instead of leaving room for the window to move seasonally
- Ordering windows by size alone without confirming the U-factor matches the energy code path on file
None of these are hard to avoid. They just require someone on site who's slowing down enough to do the flashing in order, every time, on every opening — not just the ones that are easy to reach.
If you're framing a new home or addition in Lynden and want windows installed correctly the first time — flashed right, sized right, and coordinated with your builder's schedule — we're happy to walk your plans and give you a straightforward, no-pressure estimate. Use the form below to get started.