 Bellingham Exterior
 Building New in Blaine Means Building for the Water
Blaine sits right on Semiahmoo Bay, a few miles from the Canadian border, which puts new construction there under a different kind of pressure than a build fifteen miles inland. Salt-laden air off the water accelerates corrosion on hardware and fasteners. Driving rain off Georgia Strait storms pushes water sideways into wall assemblies, not just straight down. And the long, damp moss season that defines Whatcom County winters keeps every north- and west-facing surface wet for weeks at a time. Windows installed during framing are one of the few building components that have to perform against all three of those conditions for decades without being touched again.
When we install new-construction windows in Blaine, we're not just setting glass in an opening — we're building the water management system for that opening, because the window and the wall around it have to work as one unit. Get that wrong at the framing stage and the flaws are usually invisible until they show up as rot, mold, or a soft spot in the siding five or ten years later.
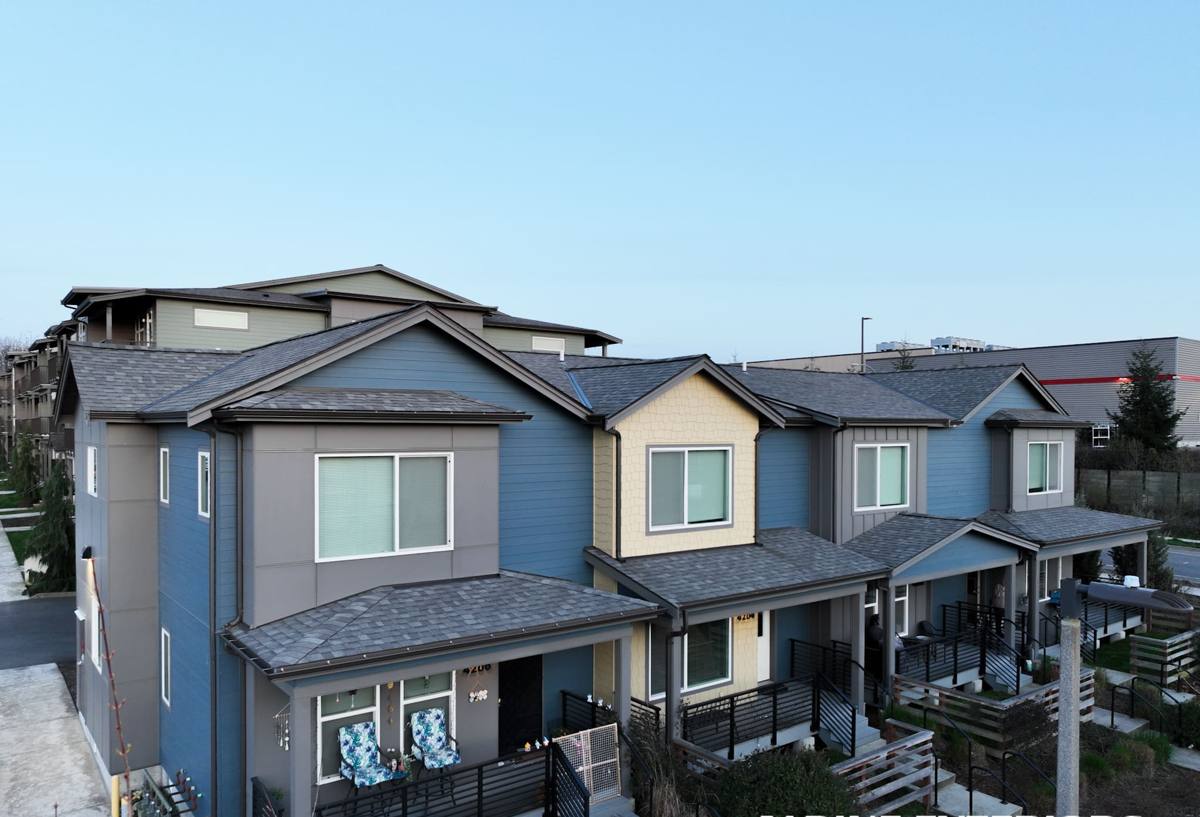
New-Construction vs. Replacement: Why the Distinction Actually Matters
"New-construction window" isn't just a marketing term — it describes a specific window design and installation method used when a wall is open to the studs, as opposed to a retrofit installed into an existing finished wall. Confusing the two, or having a crew install the wrong type, is one of the more common and costly mistakes we see on new builds and additions in this area.
| Factor | New-Construction Window | Replacement Window |
|---|---|---|
| Frame design | Has a nailing fin around the perimeter | No fin — fits inside the existing frame |
| Best used when | Wall is open to the studs (new build, addition) | Existing siding and trim stay in place |
| Flashing integration | Ties directly into housewrap and flashing tape | Relies on the old frame's existing seal |
| Long-term water control | Best possible seal when done correctly | Good, but limited by what's already there |
For a genuine new build or an addition here in Blaine, a nail-fin new-construction window installed with proper flashing sequencing is the right call every time. It's the only method that lets us build a continuous drainage plane from the roofline down through the wall and out past the foundation.
What "Correct" Actually Looks Like
A properly installed new-construction window isn't just screwed into the rough opening. The sequence matters as much as the window itself:
- Sill pan flashing installed first, sloped slightly outward so any water that gets past the window drains out, not into the wall cavity
- Window set into the opening, shimmed level and plumb, and fastened through the nailing fin per the manufacturer's schedule
- Flashing tape applied to the sides first, then the top, in a shingle-lap pattern so upper layers overlap lower ones — never the reverse
- Housewrap integrated over the top flashing and behind the side flashing, maintaining the same shingle-lap logic all the way up the wall
- Interior gaps between the frame and rough opening sealed with low-expansion foam or backer rod and sealant — not just caulked at the trim
- Weep holes and drainage paths on the sill left clear, never sealed shut
Skip or reverse any one of those steps and the window looks fine on day one. The failure shows up years later, usually as a stain on the drywall below the sill or soft sheathing discovered during a remodel.
Why Flashing Sequencing Is the Real Skill
Anyone can set a window in a hole. The trade skill is in the flashing — and in this climate, driving rain means water hits window assemblies from angles a drier region's contractors rarely have to plan for. Wind-driven rain off the bay can push moisture sideways under trim and around fasteners that would stay dry in a calmer climate. That's why we treat every seam — sill, jambs, head — as a place water is going to reach eventually, and we detail it so that water is directed back out rather than trapped.
Moss and algae growth on exterior surfaces is also worth planning for at the design stage. North- and west-facing walls in Blaine hold moisture longer through the winter, which means the sealants, flashing tape, and trim materials around those windows need to tolerate sustained dampness without breaking down. We pay closer attention to those elevations when sequencing flashing and choosing trim details.
Choosing a Window Frame Material for a Coastal Whatcom County Build
Frame material affects how a window holds up against salt air and constant moisture over the long run. There's no single "best" choice for every project — it depends on budget, the home's design, and how close the lot sits to the water.
| Frame Material | Coastal/Salt-Air Performance | Maintenance | Typical Fit |
|---|---|---|---|
| Vinyl | Good — won't corrode or rust | Low | Most cost-conscious new builds |
| Fiberglass | Very good — dimensionally stable, resists moisture-related warping | Low | Mid- to higher-end builds, larger openings |
| Wood-clad | Good on the exterior clad side; interior wood needs protection from condensation | Moderate | Traditional or high-end interior finishes |
| Aluminum | Requires a marine-grade or well-finished coating near saltwater; can corrode faster without it | Moderate to high near the water | Modern designs, larger glass spans |
Hardware matters as much as frame material here. Standard steel or lower-grade hinges, locks, and fasteners corrode faster this close to Semiahmoo Bay. We favor stainless or coated hardware on coastal-facing builds, and we're upfront when a manufacturer's standard hardware package isn't going to hold up well long-term in this location — that's a maintenance and warranty conversation worth having before the windows are ordered, not after.
Our New-Construction Window Process
1. Plan Review and Rough Opening Verification
Before windows are ordered, we review the framing plans and confirm rough openings match the specified window sizes, with correct tolerances for shimming. Catching a sizing mismatch here saves weeks of delay later.
2. Sill Pan and Flashing Installation
Each opening gets sloped sill pan flashing before the window ever goes in. This is the step that determines whether incidental water — and in Blaine, there will be incidental water — drains out or pools against the sheathing.
3. Window Setting and Fastening
Windows are set plumb, level, and square, then fastened through the nailing fin according to the manufacturer's exact schedule. Under- or over-driving fasteners is a common shortcut that shows up later as air and water leaks.
4. Flashing Tape and Housewrap Integration
Flashing tape goes on in the correct shingle-lap order and ties into the housewrap above and below, creating one continuous drainage plane rather than a patchwork of separate seals.
5. Interior Air Sealing
Gaps between the frame and rough opening are sealed on the interior side to control air leakage and condensation, which matters for both energy performance and long-term moisture control inside the wall cavity.
6. Final Inspection Before Siding
Every opening is checked before siding closes the wall up — because once siding goes on, a flashing mistake is hidden for years.
Mistakes We See on New Construction in This Area
Most window problems we get called out to diagnose in Whatcom County homes trace back to the original installation, not the window itself. On new builds specifically, the most common issues are:
- Flashing tape applied in the wrong order, directing water into the wall instead of out of it
- Sill pans skipped entirely or installed flat instead of sloped
- Housewrap cut and taped around the window as an afterthought rather than integrated during the flashing sequence
- Fasteners over-driven, crushing the nailing fin and creating gaps
- Weep holes caulked shut during finish work, trapping water inside the frame
- Hardware and fastener grades chosen without accounting for salt air exposure this close to the water
None of these are visible on a walkthrough. They're only found later, usually during a remodel or after a leak has already caused damage.
Permits, Codes, and Energy Requirements
New construction in Blaine falls under Whatcom County or City of Blaine building permits depending on the parcel, and window installations on new builds are subject to Washington State Energy Code requirements for U-factor and air leakage, along with egress sizing for bedroom windows. We handle the technical side of meeting those requirements, but it's worth knowing going in that window selection isn't purely aesthetic — energy code compliance affects which glass packages and frame types are viable for your project, and it's far easier to plan for that during design than to retrofit a solution after windows are ordered.
Why It Matters That We Already Work in Blaine
A crew that mostly works drier, inland jobs doesn't necessarily think about sill pan slope, hardware corrosion, or shingle-lap flashing order the same way a crew that works this stretch of Whatcom County coastline does. We've seen what happens to window installations here that were built to a generic standard instead of a coastal one — the failures show up in exactly the spots you'd expect: north walls, west walls, and anywhere wind-driven rain gets a run at the building. Building it right the first time, with the sequencing and material choices this specific climate calls for, costs the same as building it wrong. It just requires knowing what to do differently, and doing it every time, not just when someone's watching.
If you're planning a new build, addition, or major remodel in Blaine or anywhere else in the Bellingham area and want windows installed the way this climate actually requires, we're happy to walk the plans with you and give you a straightforward, no-pressure estimate.