 Bellingham Exterior
 Siding Built for Sehome's Particular Climate Mix
Sehome sits close enough to Bellingham Bay to catch salt-laden air off the water, high enough on Sehome Hill to take the full force of driving rain off the Sound, and shaded enough by mature trees in places to stay damp long after a storm passes. That combination — salt exposure, wind-driven rain, and a moss season that can stretch from October through May — is harder on exterior siding than most homeowners realize until they're dealing with the damage. A siding product and installation method that works fine in a dry inland climate can fail here in a fraction of the time.
We install siding across Bellingham and Whatcom County, and Sehome's older housing stock and mix of lot conditions — some open to weather, some tucked under tree canopy near the Sehome Hill Arboretum — mean we see the full range of what this climate does to a home's exterior. This page covers what a correct siding installation actually requires here, what we install and why, and how our process works from first estimate to final walk-through.
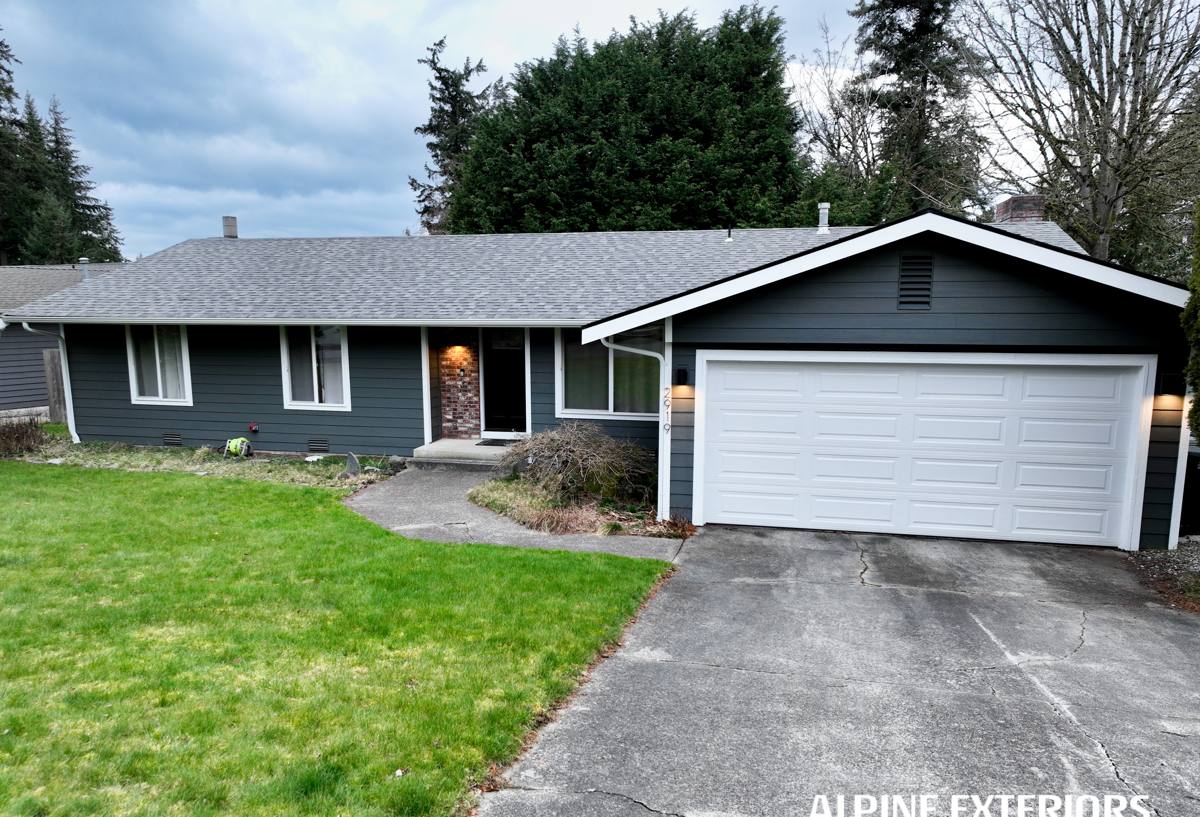
What Salt Air, Rain, and Moss Actually Do to Siding
Salt Air
Airborne salt from Bellingham Bay accelerates corrosion on any exposed metal fastener, flashing seam, or trim edge. Over years, that corrosion can compromise the small details that keep water out — a rusted nail head, a failed flashing joint — long before the siding panel itself shows any wear.
Driving Rain
Rain that comes in sideways doesn't just run down a wall — it gets pushed up under laps, into seams, and behind trim if those details weren't built to shed water actively rather than just sit there. Wind-driven rain finds every gap a rushed installation leaves behind.
Moss and Sustained Moisture
Moss doesn't just grow on roofs. On siding — especially on north-facing walls, under eaves with poor overhang, or near tree cover — moss and algae hold moisture against the surface long after the rest of the house has dried out. That prolonged dampness is what causes rot in wood-based products and paint failure on anything with a weak factory finish. It's less about the moss itself and more about what it keeps trapped against your wall.
Why We Install Only James Hardie Fiber Cement
We don't install vinyl, LP SmartSide, primed wood, cedar, or other fiber cement brands like Cemplank or Allura. That's a deliberate standard, not a sales pitch, and it comes directly from what holds up in a Whatcom County climate like Sehome's.
- Non-combustible core: Hardie's fiber cement doesn't feed a fire the way wood-based or vinyl products can, which matters for insurance conversations as much as safety.
- ColorPlus factory finish: Baked-on at the factory under controlled conditions, it resists the fading, chalking, and peeling that field-applied paint struggles with under constant damp-dry cycling.
- HZ5 engineering: Hardie's HZ5 product line is formulated specifically for climates with prolonged moisture exposure and freeze-thaw swings — the Pacific Northwest is exactly the environment it's built for.
- Moisture-stable core: Fiber cement doesn't swell, warp, or rot the way wood-based siding can when it stays wet for extended stretches, which matters directly for moss-prone walls.
- Transferable warranty: A strong, transferable manufacturer warranty protects the investment for the homeowner and adds resale value — buyers in this market increasingly ask what siding a home has.
None of this means other products are worthless — vinyl is inexpensive, wood has real appeal, LP SmartSide has its fans. We just won't put our name on an installation using a product that we don't believe holds up to Sehome's specific mix of salt, rain, and sustained dampness over the long run.
What a Correct Siding Installation Actually Involves
Siding failures are rarely about the panel material — they're almost always about what's behind it or how it was fastened. A correct installation is mostly invisible once finished, which is exactly why it's so often skipped by crews trying to move fast.
The Water-Management System
Good siding is one layer of a larger water-management system: a water-resistant barrier (WRB) behind the panels, properly lapped and taped seams, flashing at every window, door, and penetration, and a drainage gap where the wall assembly calls for one. Skip any of these and the siding itself can look perfect while water is already getting behind it.
Fastening and Gapping
Hardie panels need to be fastened per manufacturer spec — correct nail placement, correct spacing, correct depth. Over-driven fasteners crack the material's edge and create entry points; under-driven ones leave panels loose enough to work free in high wind. Panels also need expansion gaps at butt joints and trim, caulked and painted per spec, so the material can move slightly with temperature and moisture changes without cracking.
Trim, Caulking, and Transitions
The transitions — where siding meets trim, roofline, foundation, and any protrusion like a hose bib or vent — are where driving rain finds its way in. These details take real time to do correctly, and they're the first thing we check on any home we're bidding.
Installation Quality Checklist
- Water-resistant barrier installed and correctly lapped, not just stapled up
- Flashing at every window, door, and wall penetration
- Drainage gap behind siding where the wall assembly requires it
- Fasteners placed and driven to Hardie's specification, not eyeballed
- Expansion gaps at all butt joints and trim edges, properly sealed
- Corrosion-resistant fasteners and flashing appropriate for coastal air
- Factory-finished ColorPlus edges properly sealed at cut ends
- Clearance maintained between siding bottom edge and grade, decks, or roofing
How We Approach a Sehome Project
The process is the same discipline whether the home is a smaller older house near the university side of the neighborhood or a larger property up toward the hill.
- Walkthrough and assessment: We look at current siding condition, moisture points, tree cover, sun exposure on each wall, and any rot or hidden damage behind existing material.
- Written estimate: A clear scope covering material, prep work, flashing and water-management details, and timeline — no vague allowances.
- Prep and tear-off: Removal of old siding, inspection of sheathing, and repair of any rot or damage found before anything new goes up. This step is where problems that have been hiding for years usually surface.
- Water barrier and flashing installation: The part of the job nobody sees once it's done, and the part that determines whether the job lasts.
- Hardie panel installation: Installed to manufacturer spec for fastening, gapping, and trim integration.
- Final detailing: Caulking, touch-up paint at cut edges, and a walk-through with the homeowner before we call it done.
Cost Factors on a Sehome Siding Project
Every home is different, but the same handful of factors drive most of the price variation we see on Sehome projects. This table covers what typically pushes a project up or keeps it more affordable.
| Factor | Impact on Cost |
|---|---|
| Tear-off vs. install over existing siding | Tear-off costs more upfront but is the only way to find and fix hidden rot or moisture damage |
| Hidden sheathing or framing repair | Adds cost, but skipping needed repair guarantees a shorter lifespan for the new siding |
| Home height and roofline complexity | Steep sections, multiple stories, and complex rooflines add labor and staging time |
| Trim and detail work (windows, corners, transitions) | More cuts, more flashing, more finish work per square foot |
| Siding profile chosen (lap width, shingle-style, panel) | Some Hardie profiles require more labor per square foot than others |
| Access and site conditions | Tree cover, tight side yards, or slope can slow staging and add time |
Signs a Sehome Home Needs New Siding
Not every issue means full replacement, but these are the signs worth having looked at before they become bigger problems:
- Soft or spongy spots when you press on the siding, especially near the bottom edges
- Paint that's peeling, bubbling, or chalking heavily on north-facing or shaded walls
- Persistent moss or algae growth that returns quickly after cleaning
- Visible gaps, warping, or cupping in individual boards or panels
- Rising energy bills that suggest the wall assembly is no longer doing its job
- Interior signs like musty smells or discoloration on walls that back onto exterior siding
Why a Crew That Already Works in Sehome Matters
Siding installation quality depends heavily on understanding the specific conditions of the wall you're building. A crew that regularly works in Sehome and the surrounding Bellingham area already knows which orientations tend to hold moss longest, how much clearance to build in for driving rain off the water, and which flashing details matter most given the salt exposure this close to the bay. That's not something you get from a general contractor who does one job here and moves on to a different climate zone next. Familiarity with Whatcom County permitting and inspection expectations also keeps a project moving instead of stalling on paperwork.
Maintenance After Installation
A correctly installed Hardie siding system needs relatively little upkeep, but a little attention goes a long way in this climate:
- Rinse siding annually to keep salt residue and organic buildup from accumulating, especially on walls facing the bay
- Trim back vegetation and tree limbs that keep siding shaded and damp longer than necessary
- Check caulking at trim and window transitions every year or two and touch up as needed
- Address any moss regrowth promptly with a gentle wash rather than pressure-washing, which can force water behind panels
If you're weighing a siding project on a Sehome home, we're happy to take a look, walk you through what we're seeing, and put together a clear, no-pressure estimate. Use the form below to get started.