 Bellingham Exterior
 Building New in Birch Bay: What the Coastal Climate Actually Demands
Birch Bay sits right on the water, which means every window opening in a new build here is fighting a different fight than the same house would face a few miles inland. Salt-laden air corrodes hardware and fasteners faster than it does in Bellingham proper. Wind-driven rain off the bay doesn't just fall on a window, it gets pushed sideways into every seam and lap joint that isn't built correctly. And the long, damp moss season that Whatcom County is known for keeps siding, trim, and window perimeters wet for weeks at a stretch, which is exactly the condition mold and rot need to get started.
None of that is a reason to overbuild or panic-spec every opening with marine-grade everything. It's a reason to get the fundamentals right the first time, because a new-construction window is the one chance you get to install it into a wall that isn't finished yet. Once siding, trim, and interior finishes go up around it, fixing a bad install means tearing back out work that's already paid for.
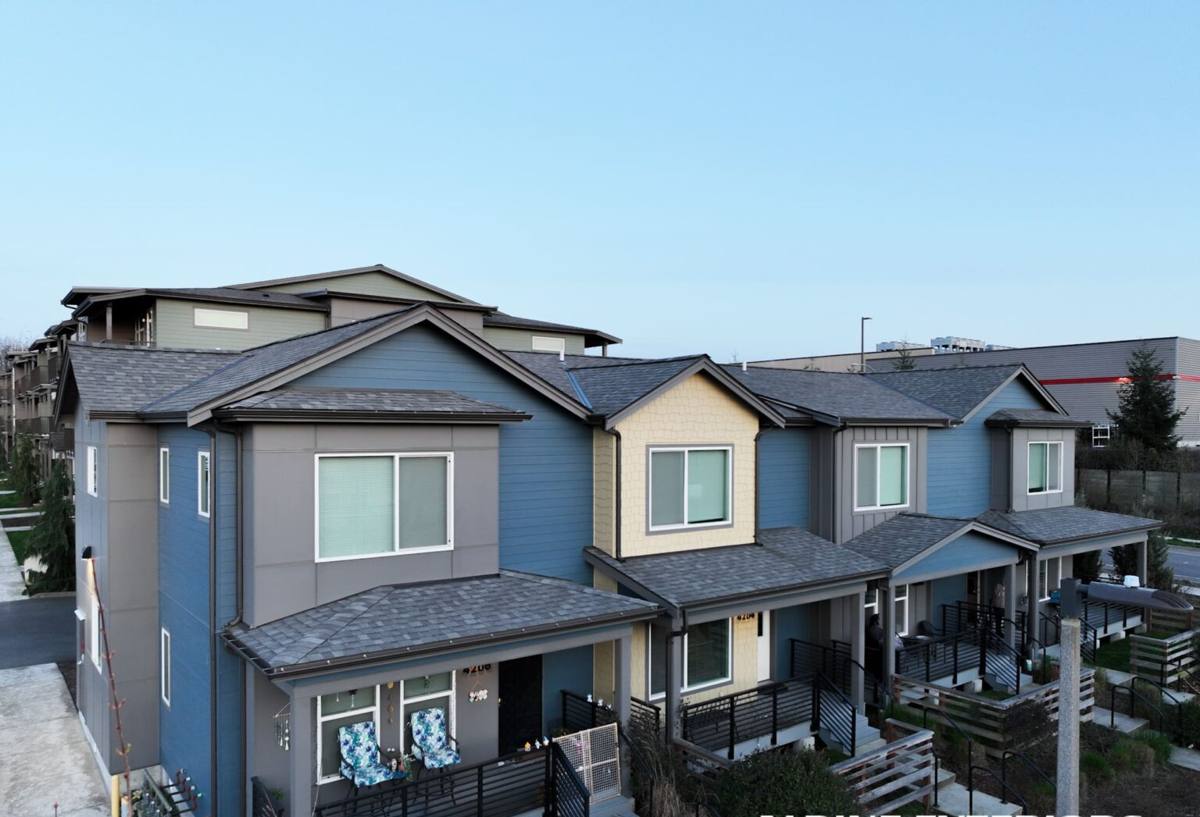
New Construction Is a Different Job Than a Replacement Window
A lot of homeowners assume "new construction window" just means "window that happens to be going into a new house." It's actually a different product and a different installation method than a replacement window, and the difference matters most in a place like Birch Bay.
- Nailing fin vs. no fin: New-construction windows have an integral nailing flange that gets fastened directly to the framing and integrated into the weather-resistive barrier before siding goes on. Replacement windows are typically inserted into an existing frame and don't have this flange.
- Flashing sequence: Because the wall isn't closed up yet, we can flash the rough opening in the correct shingle-lap order — sill pan first, then side flashing, then head flashing lapped over the housewrap above it — so water is always directed outward and down, never trapped behind the window.
- One shot to get it right: In a replacement, a marginal seal can sometimes be caught and fixed from the exterior later. In new construction, once siding and trim close around the opening, the flashing details underneath are hidden for the life of the house.
What a Correct Installation Involves
The sill pan and sloped opening
Every rough opening should get a sloped sill pan — either a manufactured pan flashing or a properly built-up and sloped sub-sill — so any water that gets past the window sheds back out rather than sitting on the framing. On a bay-front lot with regular wind-driven rain, a flat, un-pitched sill is one of the most common places we find rot on homes built without this detail.
Flashing tape and the weather-resistive barrier
The window's nailing fin needs to be integrated into the housewrap or building wrap in the correct order — jamb flashing over the sill pan, head flashing lapped under the wrap above — using flashing tape rated for the temperatures and UV exposure it'll see before siding closes it in. Skipping a course or taping out of sequence creates a shingle effect that runs backward, which is invisible until there's a leak years later.
Fastening and shimming
Windows need to be shimmed square and plumb at every fastening point, not just at the corners, and fastened per the manufacturer's schedule. A window that's slightly racked in the opening won't operate smoothly and puts uneven stress on the seals — stress that shows up faster in a climate with this much moisture and temperature swing.
Interior and exterior sealant
Sealant is the last line of defense, not the first. We use it to back up correctly lapped flashing, not to substitute for it. Caulk alone, without the flashing sequence behind it, tends to fail within a few seasons on an exposed coastal wall.
Materials and Frame Types: What Holds Up Near the Water
There's no single "best" window material for every house — it depends on budget, the home's design, and how exposed the specific elevation is to wind and salt spray. Here's how the common options generally perform in a Birch Bay setting:
| Frame Type | Coastal Performance | Trade-offs |
|---|---|---|
| Vinyl | Good moisture resistance, won't corrode; standard hardware is typically zinc or stainless in better lines | Lower up-front cost; fewer color and profile options than fiberglass or wood-clad |
| Fiberglass | Very stable in temperature and moisture swings, holds paint well, resists warping | Higher material cost; fewer installers stock deep inventory locally, so lead times run longer |
| Aluminum-clad wood | Attractive interior wood look with a protected exterior face | Any breach in the cladding exposes wood beneath it to rot; we recommend it only where detailing and maintenance will genuinely keep up |
| Bare aluminum | Prone to corrosion and pitting in direct salt air over time | We generally steer new construction near the bay away from this unless it's a specific architectural requirement |
Hardware matters as much as frame material. On bay-facing elevations we specify corrosion-resistant hinges, locks, and screws as a matter of course — the cost difference is small, and standard-grade hardware is one of the first things to show rust streaks on a salt-exposed window.
Our New-Construction Window Process
- Plan review: We walk the window schedule against the elevations before framing is locked, flagging any opening that's more exposed to prevailing wind and rain than the plans account for.
- Rough opening check: Every opening gets measured and squared before flashing starts — undersized or out-of-square openings get caught here, not after the window's already ordered.
- Sill pan and flashing: Sloped sill pan, jamb flashing, and head flashing installed in the correct shingle-lap sequence, integrated with the housewrap.
- Window set: Window shimmed plumb, level, and square, fastened per manufacturer spec, and checked for smooth operation before we move to the next opening.
- Exterior seal and trim prep: Sealant applied as backup to the flashing, exterior trim details coordinated with your siding crew's schedule.
- Final walk: Every opening gets a final check — operation, seal, and flashing lap — before we sign off, while it's still easy to correct anything.
Mistakes We Commonly See on Coastal New Builds
These aren't hypothetical — they're the details that separate a window install that lasts decades near the water from one that starts leaking within a few years:
- Flat sill with no slope or pan flashing, so water sits against the framing instead of draining out
- Flashing taped in the wrong order, creating a reverse-lap that channels water inward instead of out
- Standard hardware and fasteners used on bay-facing elevations, leading to early corrosion and streaking
- Windows fastened without full shimming, causing binding, drafts, or uneven seal wear over time
- Sealant relied on as the primary water barrier instead of a backup to proper flashing
- Window install scheduled out of sequence with the weather-resistive barrier, leaving gaps in coverage
Timing Windows With Your Build Schedule
Window install timing on new construction is tighter than most owners expect. Windows generally need to go in after the weather-resistive barrier is up but before siding starts, and lead times on better-performing frame materials — fiberglass in particular — can run several weeks longer than vinyl. On a Birch Bay build we typically recommend locking in window selections at framing, not at drywall, so the order is placed with enough lead time that it doesn't hold up your siding crew. We coordinate directly with your general contractor or builder on this timing rather than working in isolation.
What New-Construction Windows Cost, and Why
Costs vary by opening size, frame material, glass package, and how many elevations face the weather directly, but here's generally what moves the number:
| Factor | Why It Affects Cost |
|---|---|
| Frame material | Vinyl is the most economical; fiberglass and aluminum-clad wood cost more up front but hold up longer with less maintenance |
| Glass package | Low-E coatings and gas fills add cost but improve comfort and reduce condensation in our damp, temperature-swinging climate |
| Opening exposure | Bay-facing elevations often justify better hardware and flashing detail than a sheltered rear wall |
| Number and size of openings | Larger glass areas and specialty shapes (bays, transoms) add both material and labor cost |
| Site access | Waterfront lots with limited staging area can add labor time versus an easy-access inland lot |
We're straightforward about where it makes sense to spend more and where a mid-grade option performs just as well — a window budget is usually better spent on getting the flashing and hardware right than on a top-tier frame installed poorly.
Why a Crew That Already Works Birch Bay Matters
Window installation isn't complicated in principle, but a crew that's only ever worked drier, more sheltered sites will make different assumptions than one that installs windows within sight of the water regularly. We know which elevations in Birch Bay take the worst of the wind and driving rain, what hardware actually holds up over a few winters of salt exposure, and how the long moss season here changes the timeline for closing in a wall behind siding. That local pattern recognition is the difference between a window that's technically installed to code and one that's installed for the specific conditions your lot sees.
We're based in Bellingham and work throughout Whatcom County, including Birch Bay, Blaine, and the surrounding coastal areas, so this isn't a one-off trip for us — it's a part of our regular territory.
Get a Free, No-Pressure Estimate
If you're framing a new build in Birch Bay, or coordinating windows for a general contractor, we're happy to walk the plans with you and give you a straightforward estimate — no pressure, no upsell. Use the form below to get started.